I finally finished my Bane Picture. I had the Idea to make a Tutorial for it. It is more of a Step by Step, but anyways! My english is far from perfect, but i hope people can understand what i mean.
This was done with Paint Tool Sai. It's a simple Program but it's got all the Brushes i need.
Here goes.
Original Picture:

I was going to draw a Batman Fanart but i couldn't find any good Pictures of Mr. Wayne so i'm going to wait till the Blu-Ray is released. Then i found this one of Bane and i really liked it. His Mask and Coat are awesome (but hard to draw, ahem).
I know it is just a copy of something that already exists, even if i did it freehand. But I can only recommend everyone to do this from time to time. And it helps if you're having an artblock or are uninspired. It does not have to be perfect. You will still learn a lot!

1. I start with the Lineart, obviously. The most important thing is to make the Person you are drawing actually look like the Person. I always find it hard to draw totally freehand, because I am really not good at measuring things (Distances, Numbers and stuff). If you want to get the face and body right, you can use a paper, hold it to your Monitor and draw Helplines from the actual Photo that you're using (for eyes, nose and so on) so that you get a feeling for the facial proportions. Then use the Helplines on your own Sketch. It helps me a lot and with time you get better at drawing things freehand. If you can do it without, then you are really talented and most certainly don't need this tutorial anways :D

2. Roughly adding the Colors and shadows.

3. After that i begin to work on the Head. I usually start with the Nose, but as his Mask covers most of his face i started with the Eye.

4. On with the Face! I used only one Brush (Standard Brush in Sai) for the Skin. I don't like using Airbrush for the Skin (with exceptions) because i think it looks unnatural.

5. Finished the Head, Neck and most of the Cloth. The hardest thing to do was his Coat! It took me a while to figure out how to get all the different textures right. Here you can see which Brushes i used. I had to mix a few Brushes to get one texture. I absolutely love drawing Details. It's the most fun and i learn alot!

6. Finished Bane! Here are a few examples were i used Airbrush. If an object is close to the surface where it casts a shadow, the shadow is "hard". If the object is far away, the shadow becomes more and more "blurry". I can achieve that kind of blurry effect if i use airbrush.
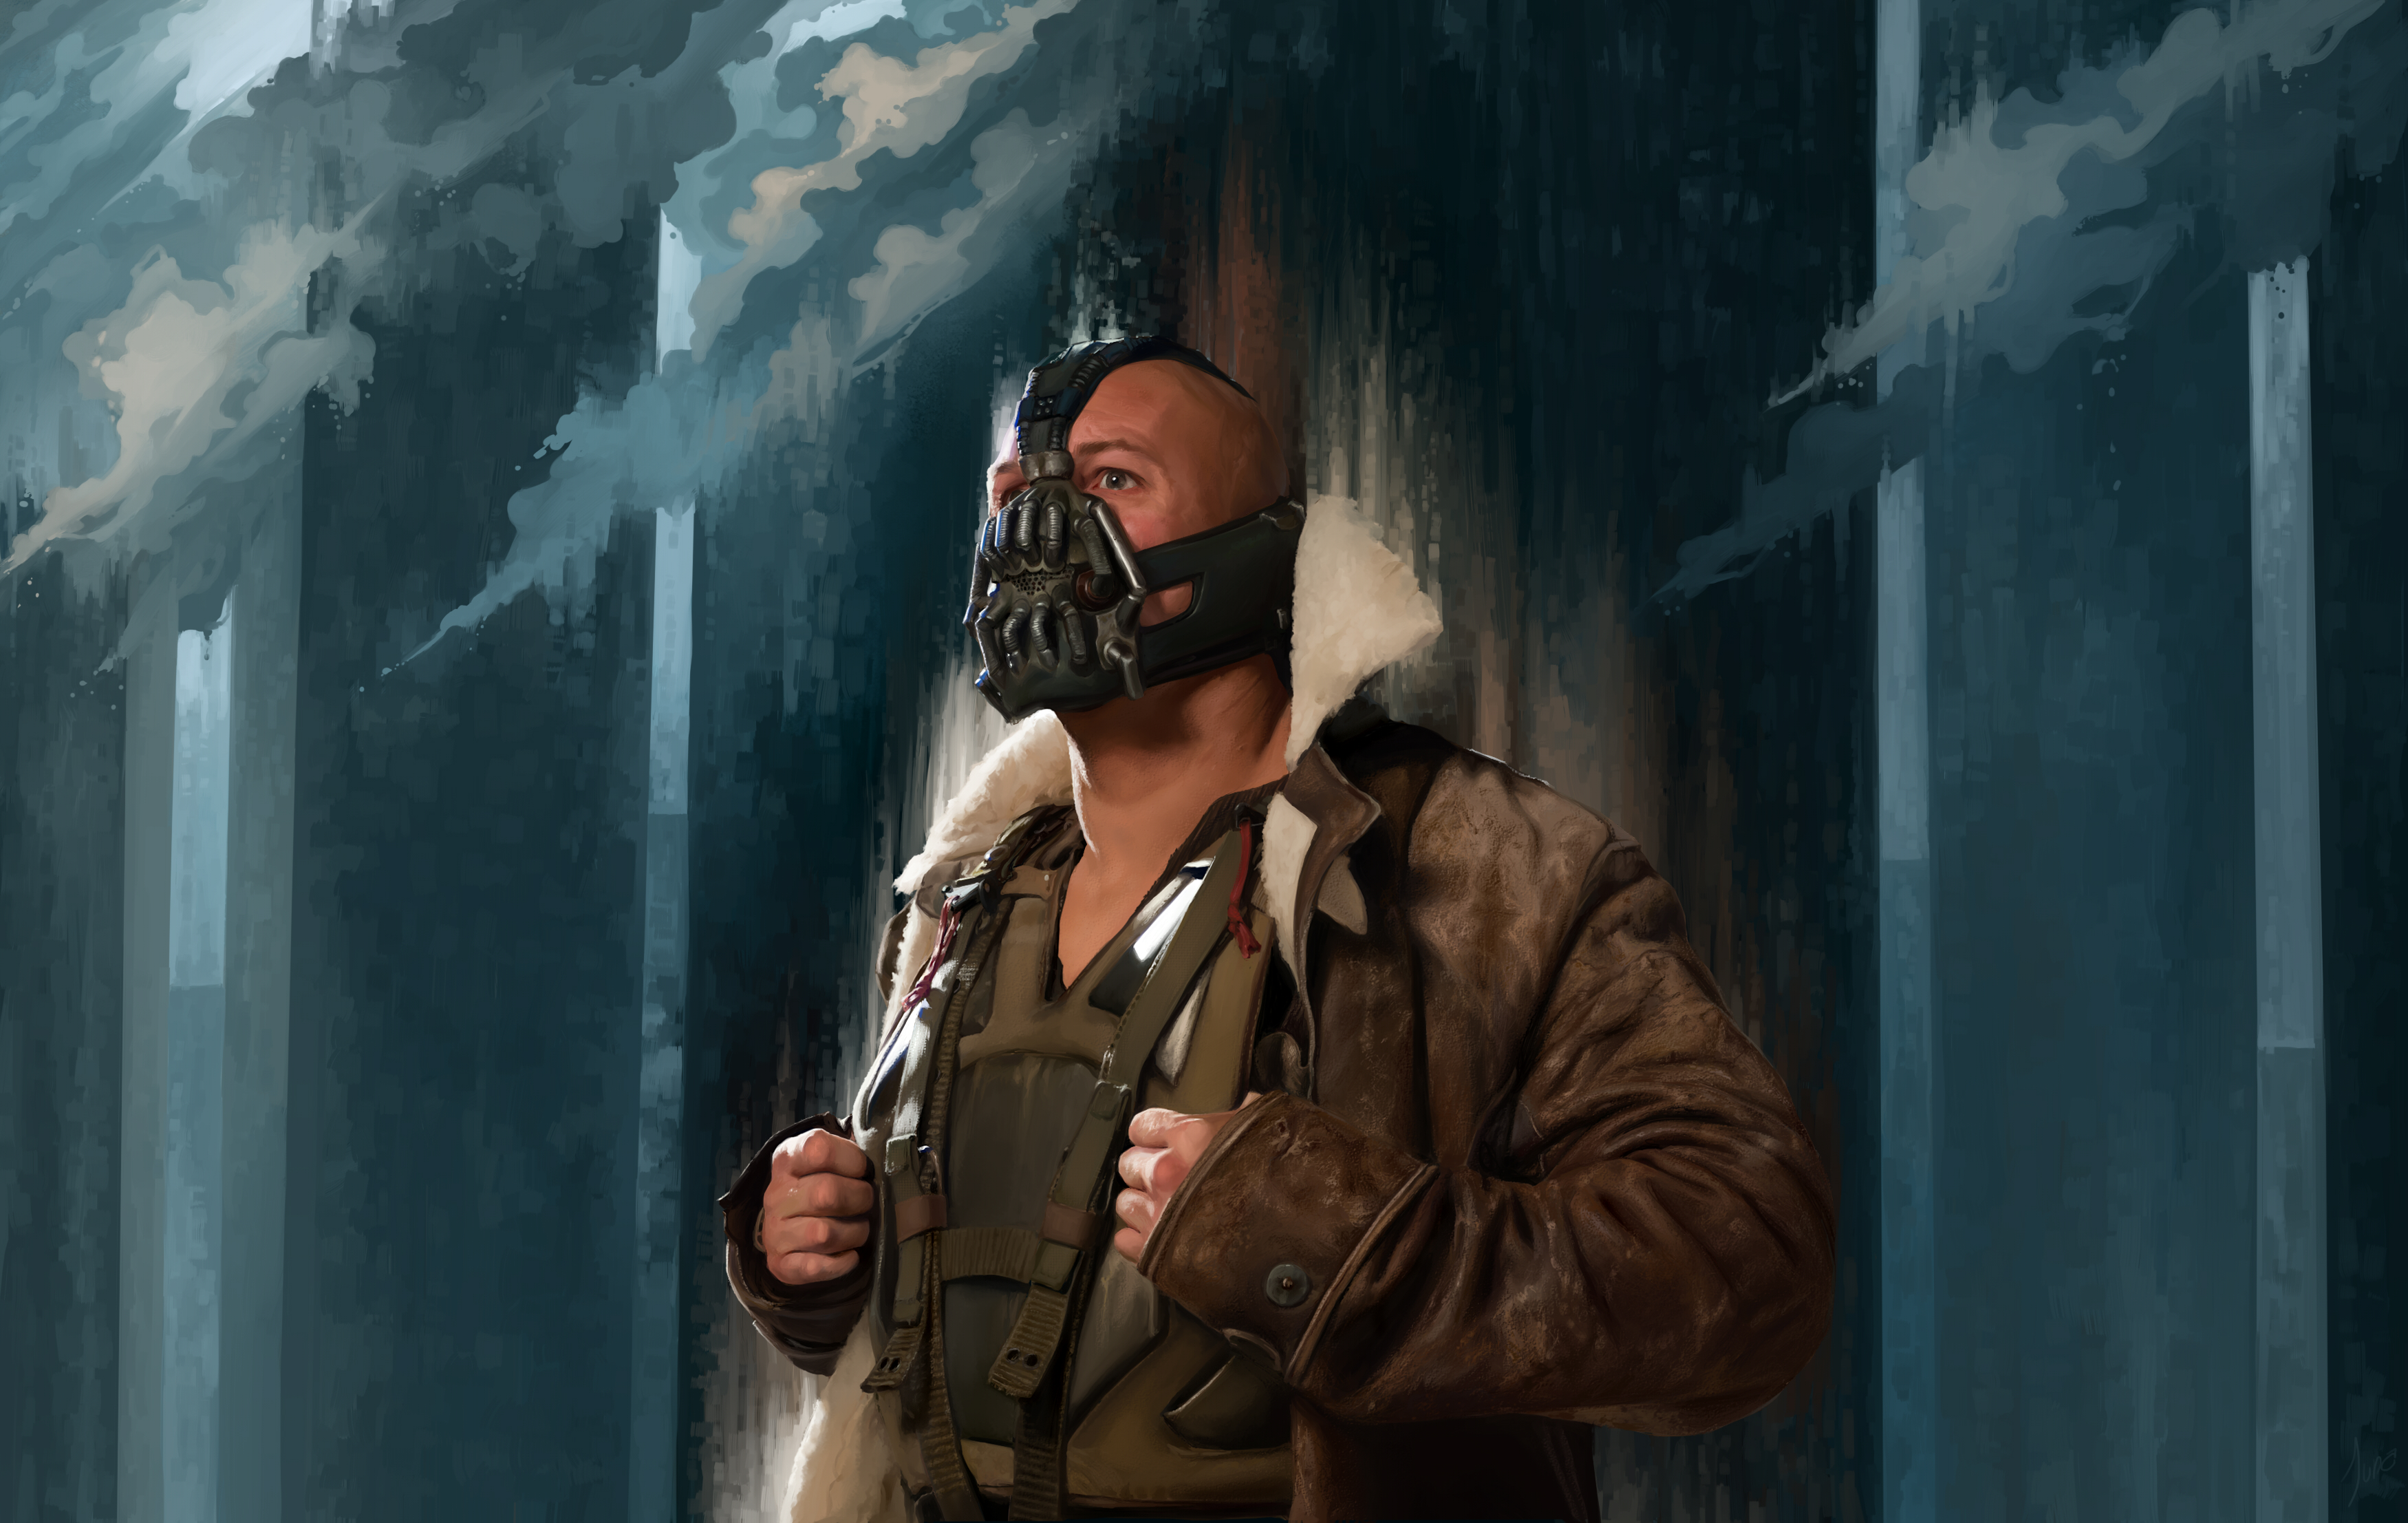
7. And on with the Background. I did not want to simply copy the Background too, but make it look abstract and "artistic". So here is the finished Piece (click for Original Size).
And finally i made two animated gifs:


