
Dienstag, 18. Dezember 2012
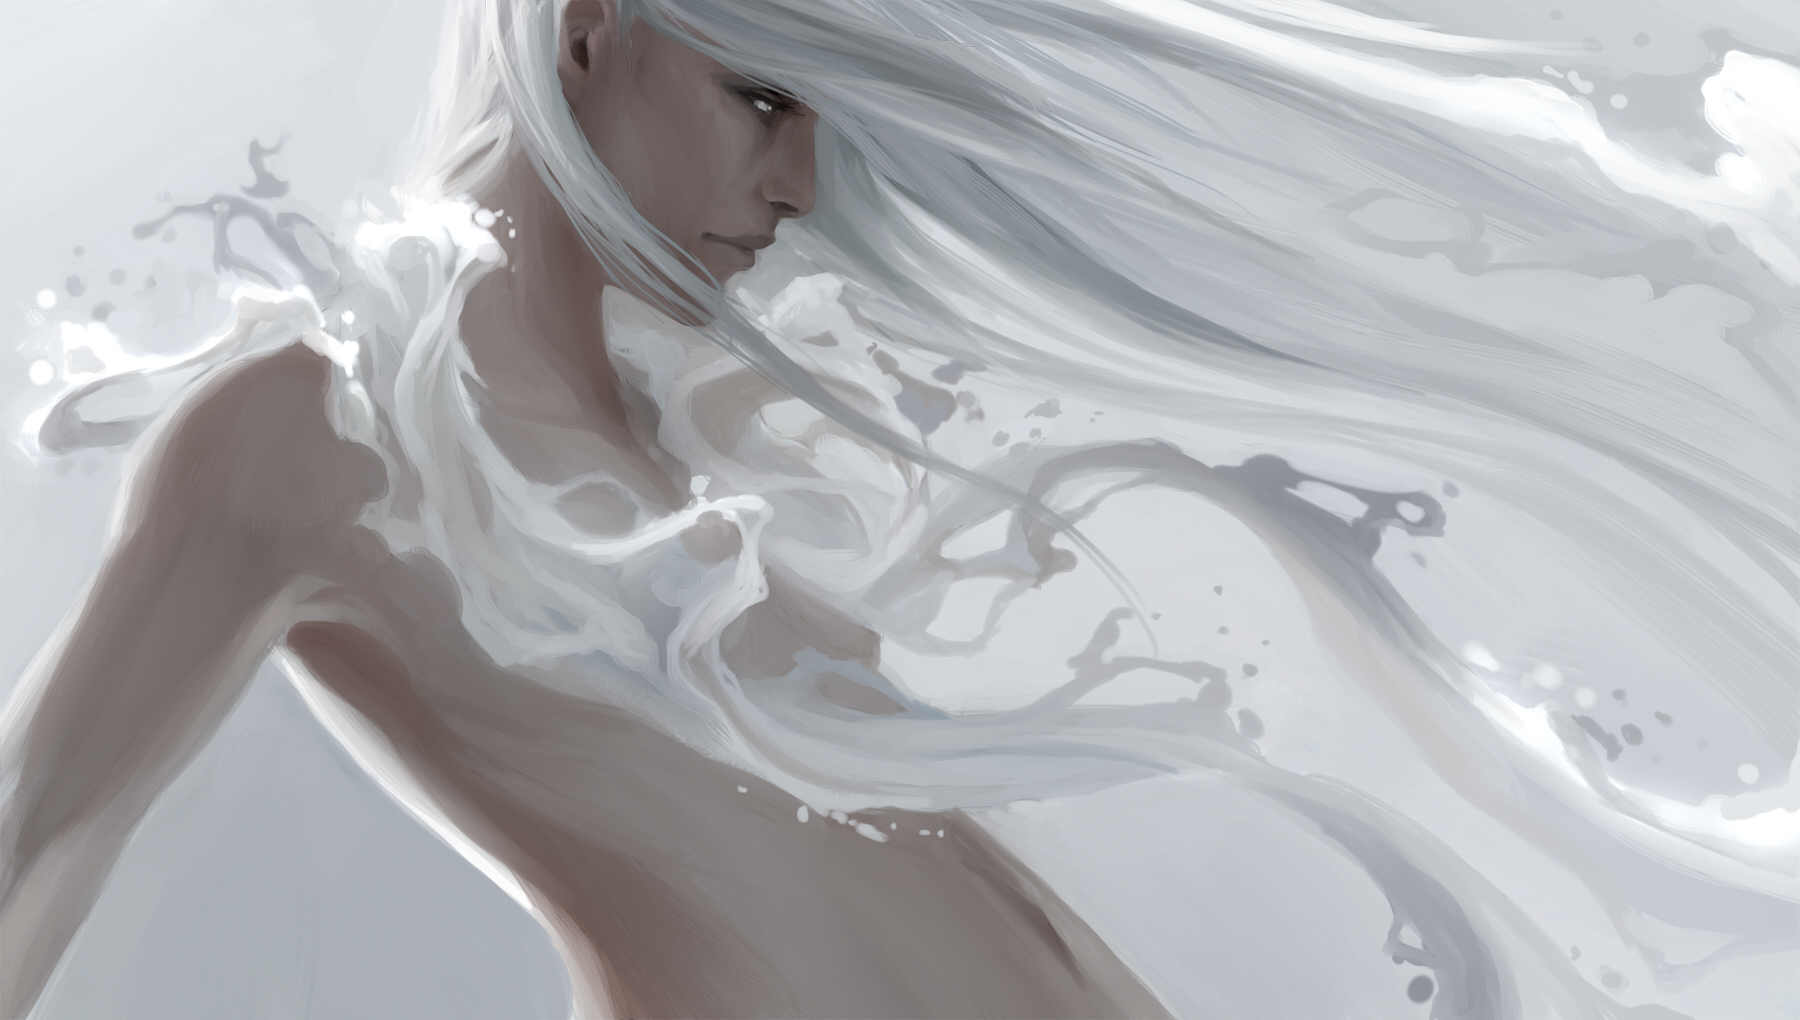
Suspended in Whiteness WiP
I still need to work out the details on this picture but I'm not going to be able to finish it this year, so i thought i upload the work in progress.

Montag, 10. Dezember 2012
Heavy Rain
I tried to do a speedpaint with the real watercolor brushes from Painter 12. It's to messy for that kind of picture, but it was worth a try. I still have to get used to the program, it's a lot of fun though.

Dienstag, 27. November 2012
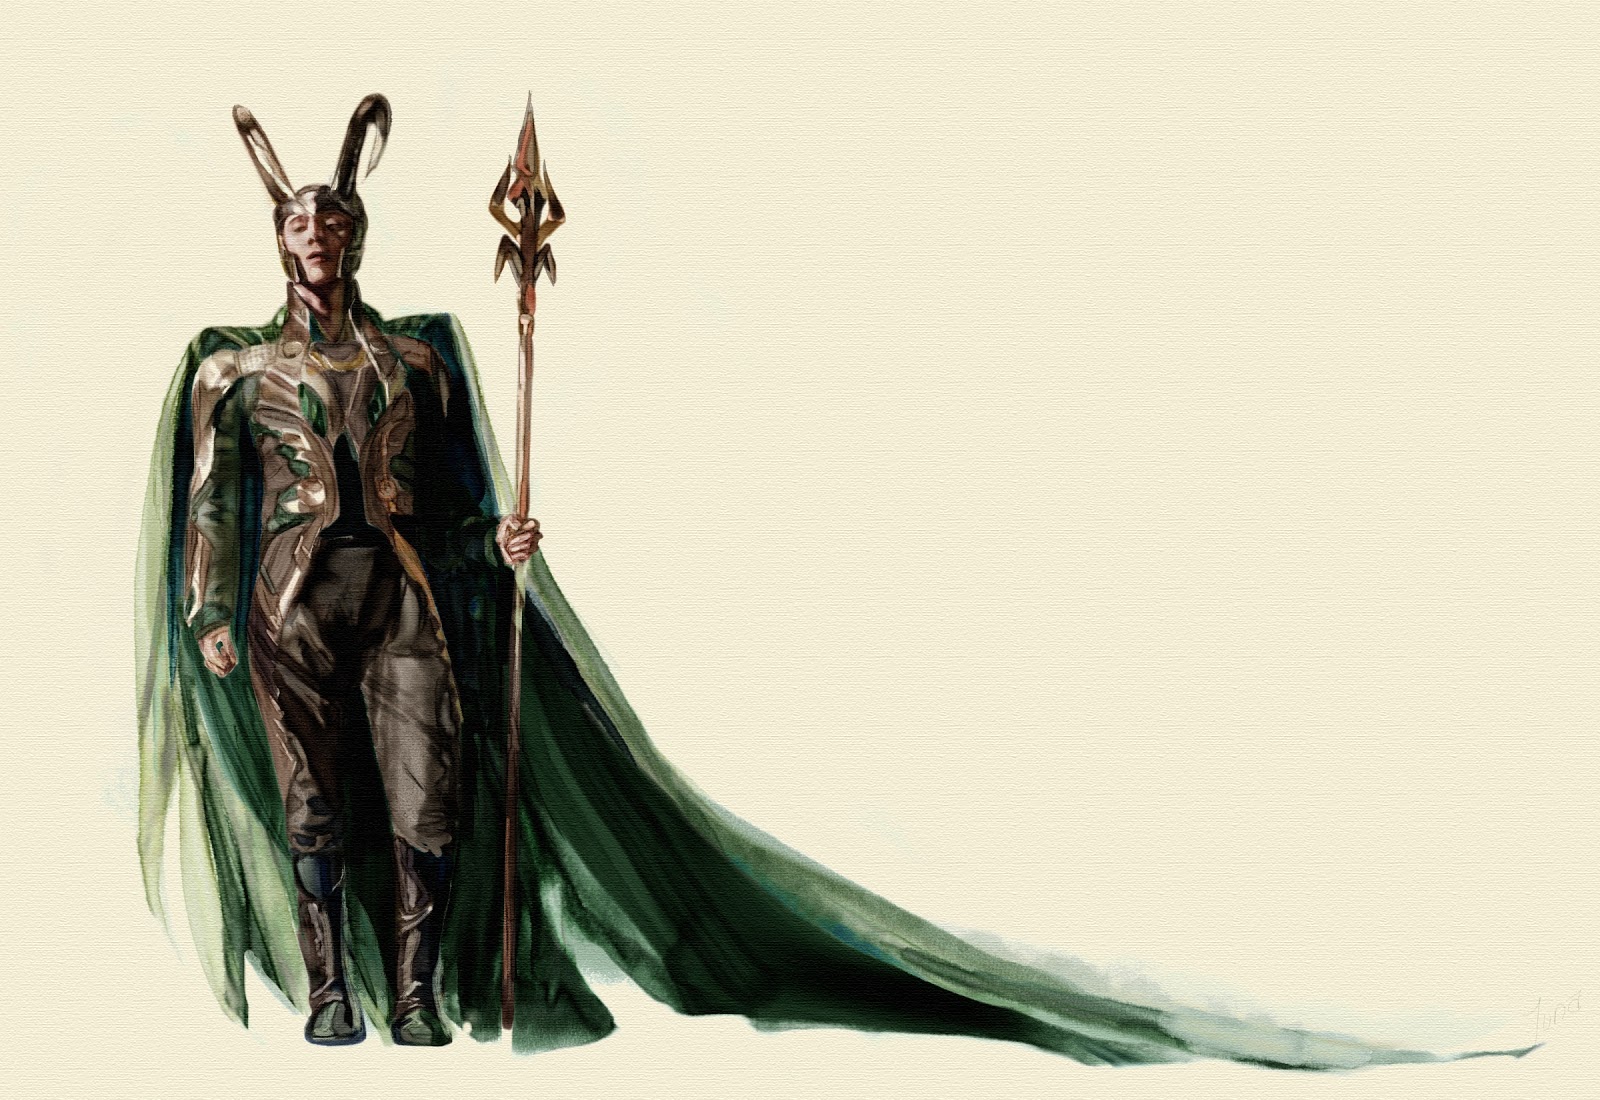
Loki'd
I'm trying to work my way into Corel Painter 12. All the different brushes are overwhelming at first.
Here is my first try with real watercolor. I used a screenshot for reference.
Yes, i went all fangirl.

Here is my first try with real watercolor. I used a screenshot for reference.
Yes, i went all fangirl.
Samstag, 24. November 2012

Mittwoch, 22. August 2012
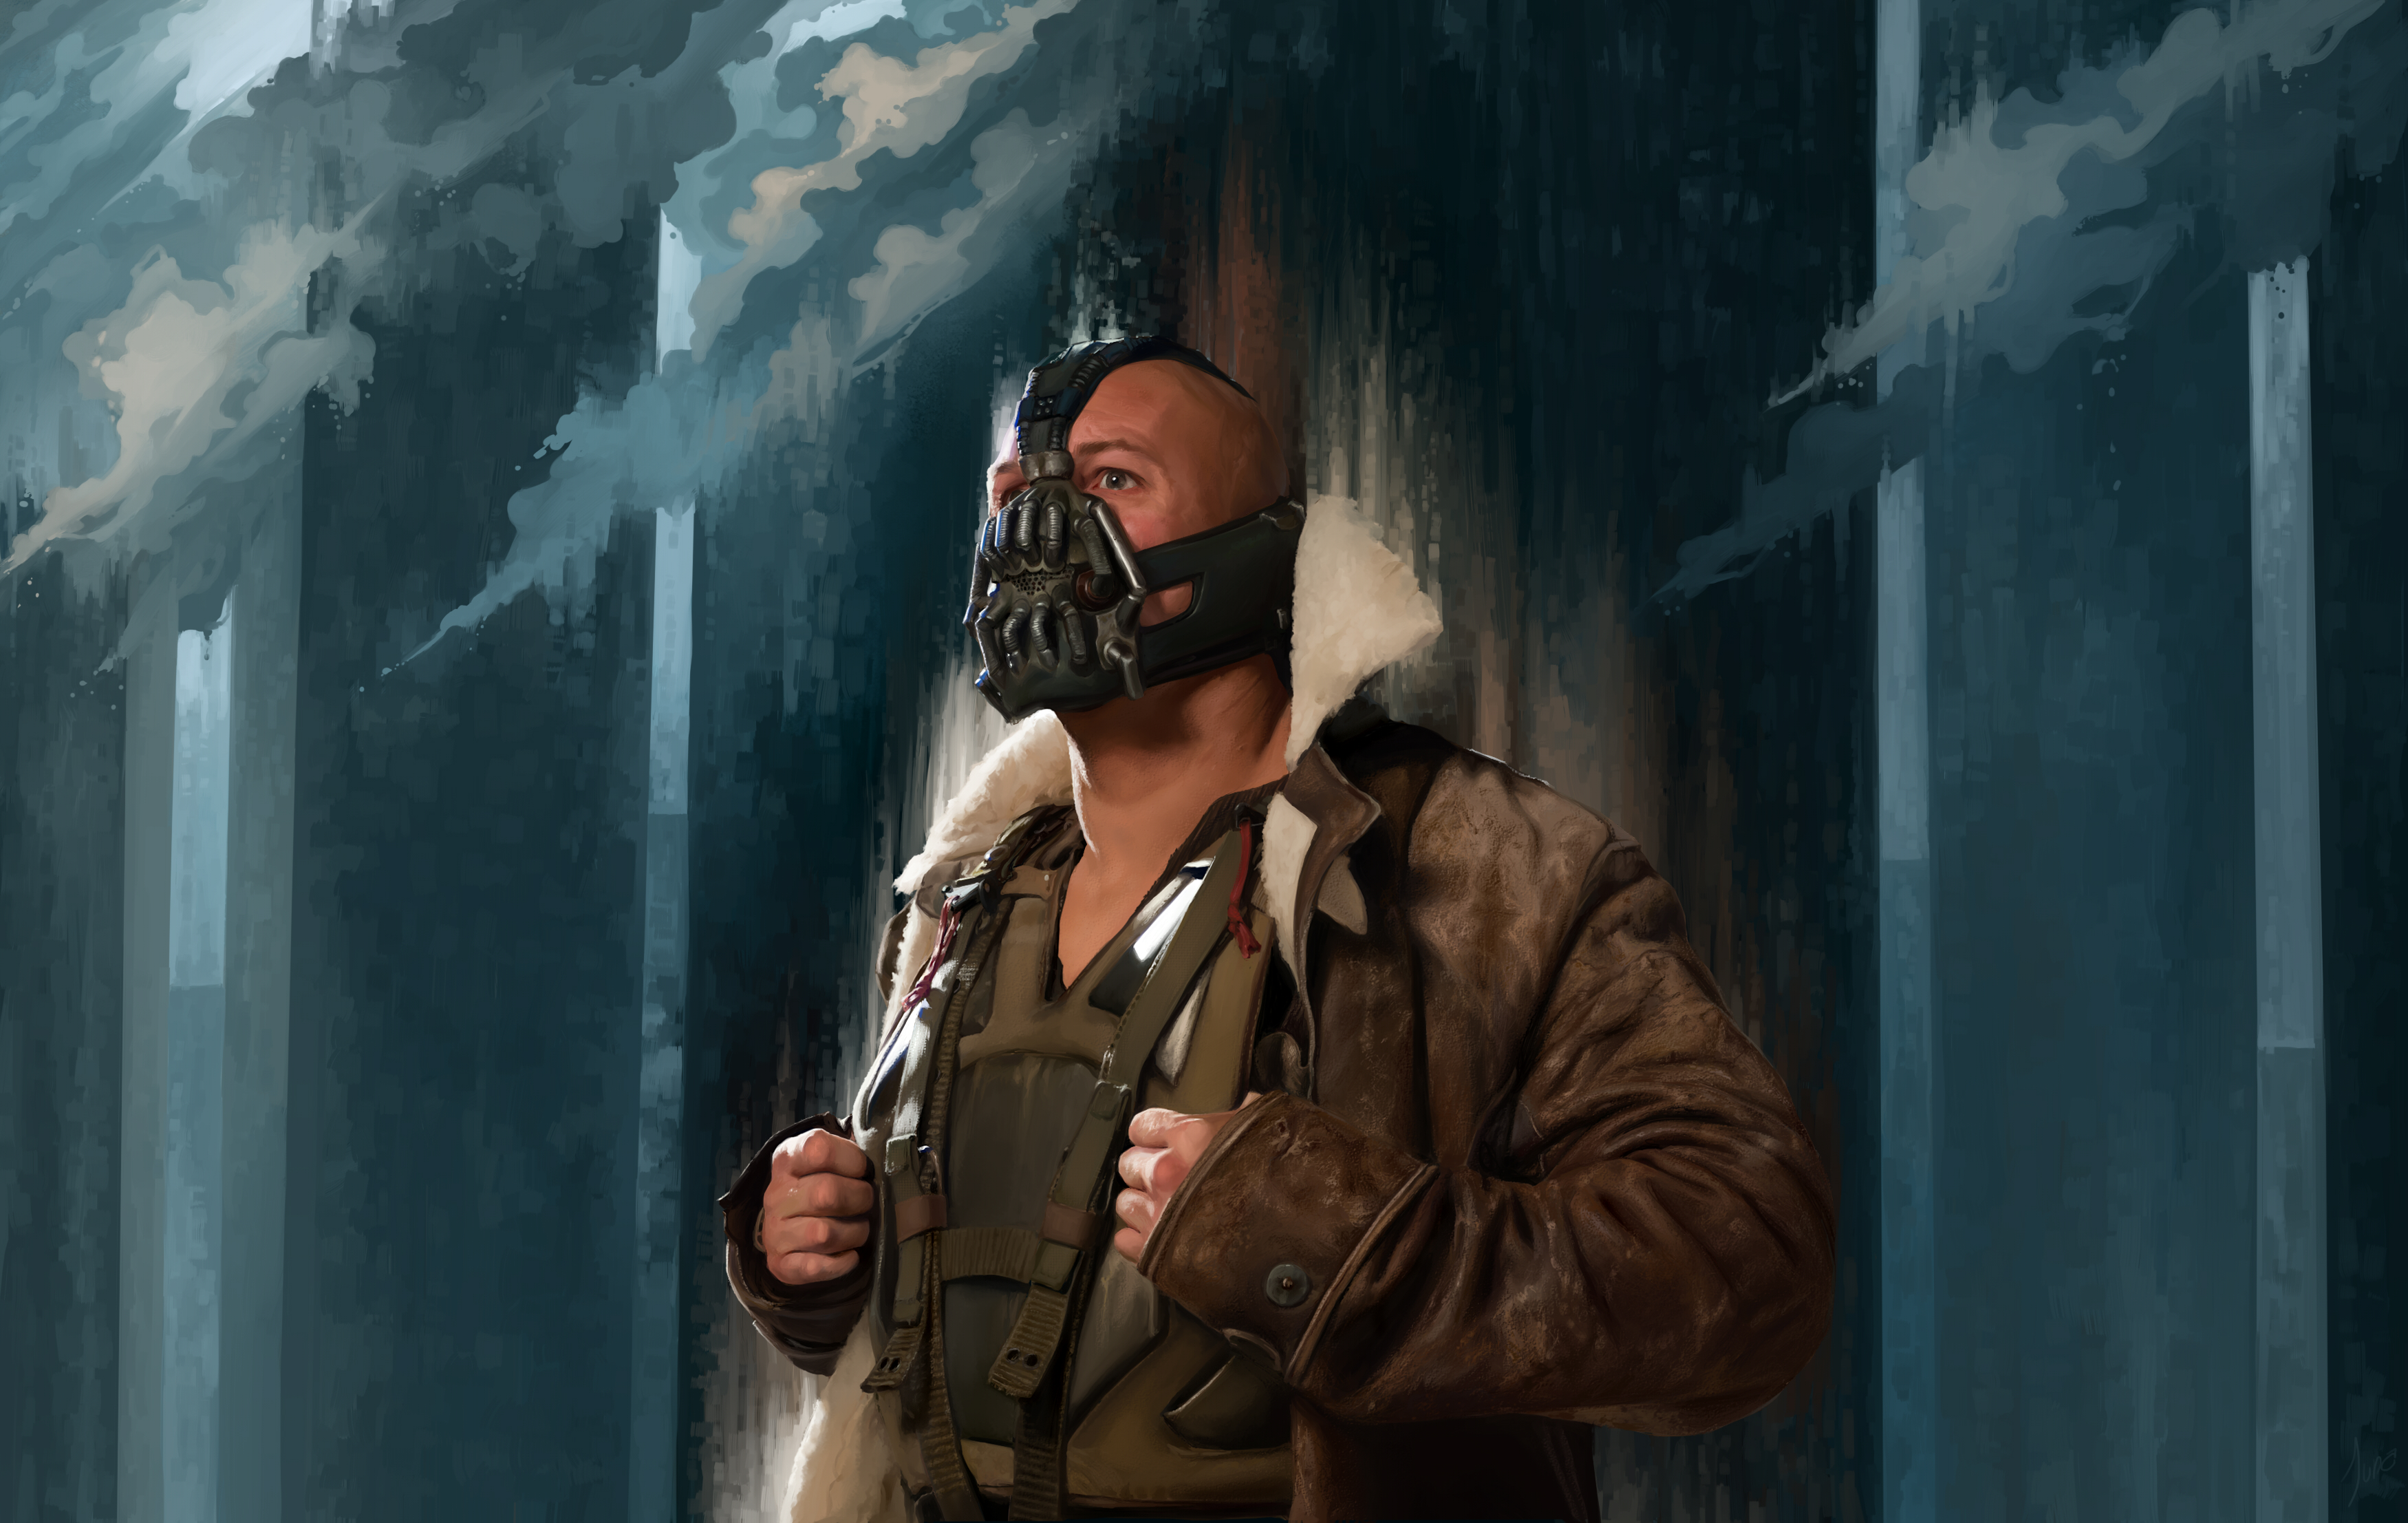
Imagine The Fire
Hello!
I finally finished my Bane Picture. I had the Idea to make a Tutorial for it. It is more of a Step by Step, but anyways! My english is far from perfect, but i hope people can understand what i mean.
This was done with Paint Tool Sai. It's a simple Program but it's got all the Brushes i need.
Here goes.
Original Picture:

I was going to draw a Batman Fanart but i couldn't find any good Pictures of Mr. Wayne so i'm going to wait till the Blu-Ray is released. Then i found this one of Bane and i really liked it. His Mask and Coat are awesome (but hard to draw, ahem).
I know it is just a copy of something that already exists, even if i did it freehand. But I can only recommend everyone to do this from time to time. And it helps if you're having an artblock or are uninspired. It does not have to be perfect. You will still learn a lot!

1. I start with the Lineart, obviously. The most important thing is to make the Person you are drawing actually look like the Person. I always find it hard to draw totally freehand, because I am really not good at measuring things (Distances, Numbers and stuff). If you want to get the face and body right, you can use a paper, hold it to your Monitor and draw Helplines from the actual Photo that you're using (for eyes, nose and so on) so that you get a feeling for the facial proportions. Then use the Helplines on your own Sketch. It helps me a lot and with time you get better at drawing things freehand. If you can do it without, then you are really talented and most certainly don't need this tutorial anways :D

2. Roughly adding the Colors and shadows.

3. After that i begin to work on the Head. I usually start with the Nose, but as his Mask covers most of his face i started with the Eye.

4. On with the Face! I used only one Brush (Standard Brush in Sai) for the Skin. I don't like using Airbrush for the Skin (with exceptions) because i think it looks unnatural.

5. Finished the Head, Neck and most of the Cloth. The hardest thing to do was his Coat! It took me a while to figure out how to get all the different textures right. Here you can see which Brushes i used. I had to mix a few Brushes to get one texture. I absolutely love drawing Details. It's the most fun and i learn alot!

6. Finished Bane! Here are a few examples were i used Airbrush. If an object is close to the surface where it casts a shadow, the shadow is "hard". If the object is far away, the shadow becomes more and more "blurry". I can achieve that kind of blurry effect if i use airbrush.
7. And on with the Background. I did not want to simply copy the Background too, but make it look abstract and "artistic". So here is the finished Piece (click for Original Size).
And finally i made two animated gifs:


Sonntag, 12. August 2012
Bane Teaser
I want to make a tutorial. It will take a couple of days to finish it but here is a little teaser what I'm working on ;)
This Goddamn Mask!

Freitag, 27. Juli 2012

Mittwoch, 25. Juli 2012

Dienstag, 24. Juli 2012

Samstag, 12. Mai 2012
Samstag, 5. Mai 2012
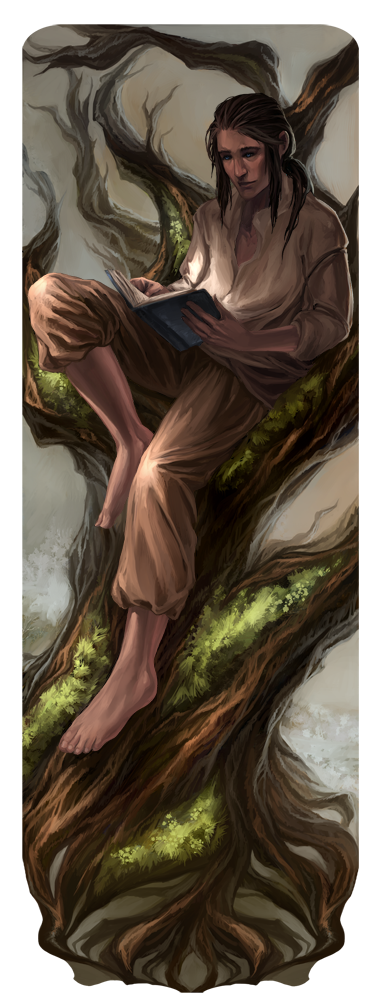
Lesezeichen.
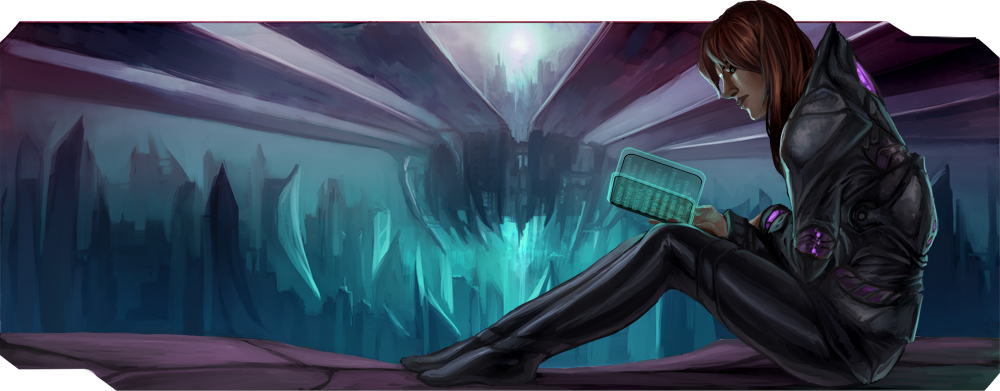
Hier sind zwei Lesezeichen die ich für meinen besten Freund gemalt habe. Jeweils für das Genre Fantasy und Science-Fiction. Ich hatte für beide Posen ein Foto als Vorlage. Ich muss sie ihm immer noch geben, also falls du das hier schon vorher siehst: Überraschung!
These are two bookmarks i made for my best friend. One for Fantasy and one for Science-Fiction. I used Photos as a reference for the posing. I still have to give these to him, so if you're reading this: surprise!


These are two bookmarks i made for my best friend. One for Fantasy and one for Science-Fiction. I used Photos as a reference for the posing. I still have to give these to him, so if you're reading this: surprise!
Samstag, 28. April 2012
Tada!
Hallo und Willkommen in meinem Blog!
Der mittlerweile dritte Versuch von mir einen persönlichen Blog zu starten. Mal schauen ob ich ihn diesmal am Leben halten kann. Hauptsächlich Dinge die mich gerade beschäftigen und Gekrakel von mir.
Also los gehts:
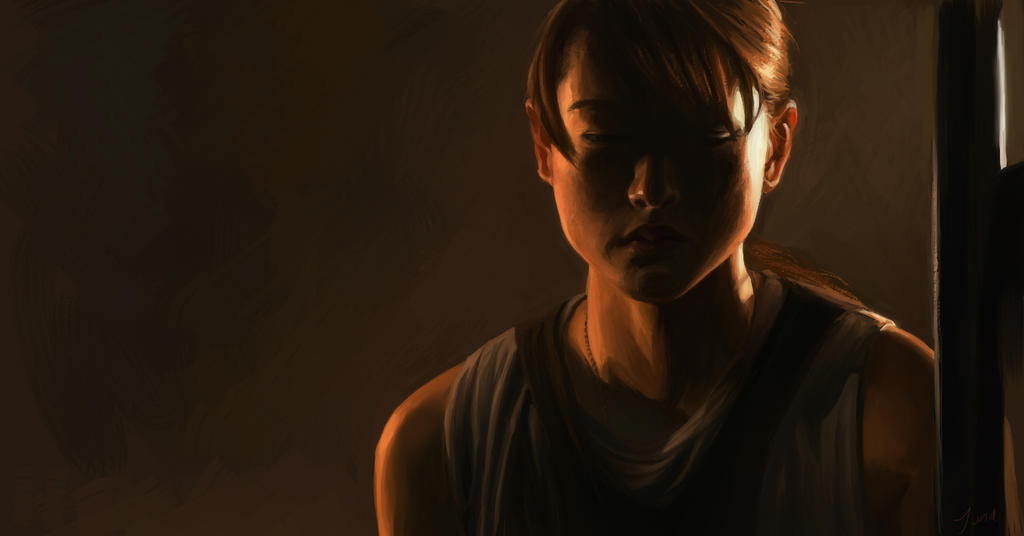
Ich habe eine Szene (Screenshot) aus Battlestar Galactica als Vorlage genommen. Hat Spass gemacht und war relativ einfach und schnell, deswegen werde ich versuchen das öfter zu machen.
_________________________________________________________________________________
Hello and Welcome to my Blog!
I will try to do this Blog in both German and English. I need to improve my English writing skills anyway, so I'm taking this opportunity ;)
This Blog will feature random thoughts from and about myself and pictures i did, mainly sketches and speedpaintings and stuff like that. So i hope you will enjoy this, but if you don't give a shit thats fine too.
So here we go:
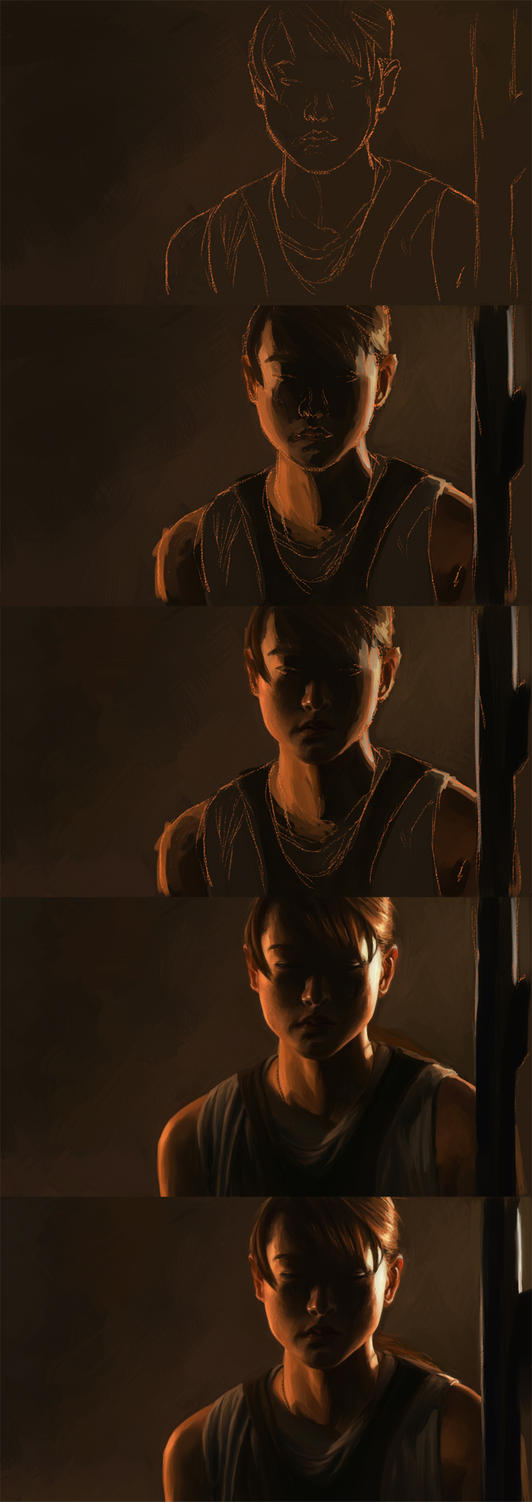
I think I will do more of these, it's fun and doesn't take that long... only about 3 Hours with Paint Tool Sai as usual. (I used a screenshot from Battlestar Galactica.)

And some Steps:

Der mittlerweile dritte Versuch von mir einen persönlichen Blog zu starten. Mal schauen ob ich ihn diesmal am Leben halten kann. Hauptsächlich Dinge die mich gerade beschäftigen und Gekrakel von mir.
Also los gehts:
Ich habe eine Szene (Screenshot) aus Battlestar Galactica als Vorlage genommen. Hat Spass gemacht und war relativ einfach und schnell, deswegen werde ich versuchen das öfter zu machen.
_________________________________________________________________________________
Hello and Welcome to my Blog!
I will try to do this Blog in both German and English. I need to improve my English writing skills anyway, so I'm taking this opportunity ;)
This Blog will feature random thoughts from and about myself and pictures i did, mainly sketches and speedpaintings and stuff like that. So i hope you will enjoy this, but if you don't give a shit thats fine too.
So here we go:
I think I will do more of these, it's fun and doesn't take that long... only about 3 Hours with Paint Tool Sai as usual. (I used a screenshot from Battlestar Galactica.)
And some Steps:
Abonnieren
Posts (Atom)